|
This page is still under construction! For a photographing session all components are transported to the observation site (some 50 meters from the storage location) and assembled there. This used to involve a lot of up-and-down walking with equipment, cables, a table and of course, carrying the back-breaking pier/mount. This became a nuisance and was reason (in 2022) to minimize the amount of components and have the System Controller to not only contain the RPi but also power supplies and KVM-peripherals and to construct a cart holding the heavy pier/mount, tracking telescope, counter weights and smaller items. Four trips are enough nowadays, and the setup is up and running in some 30 minutes, while disassembly and storage takes less than 10 minutes. |
|
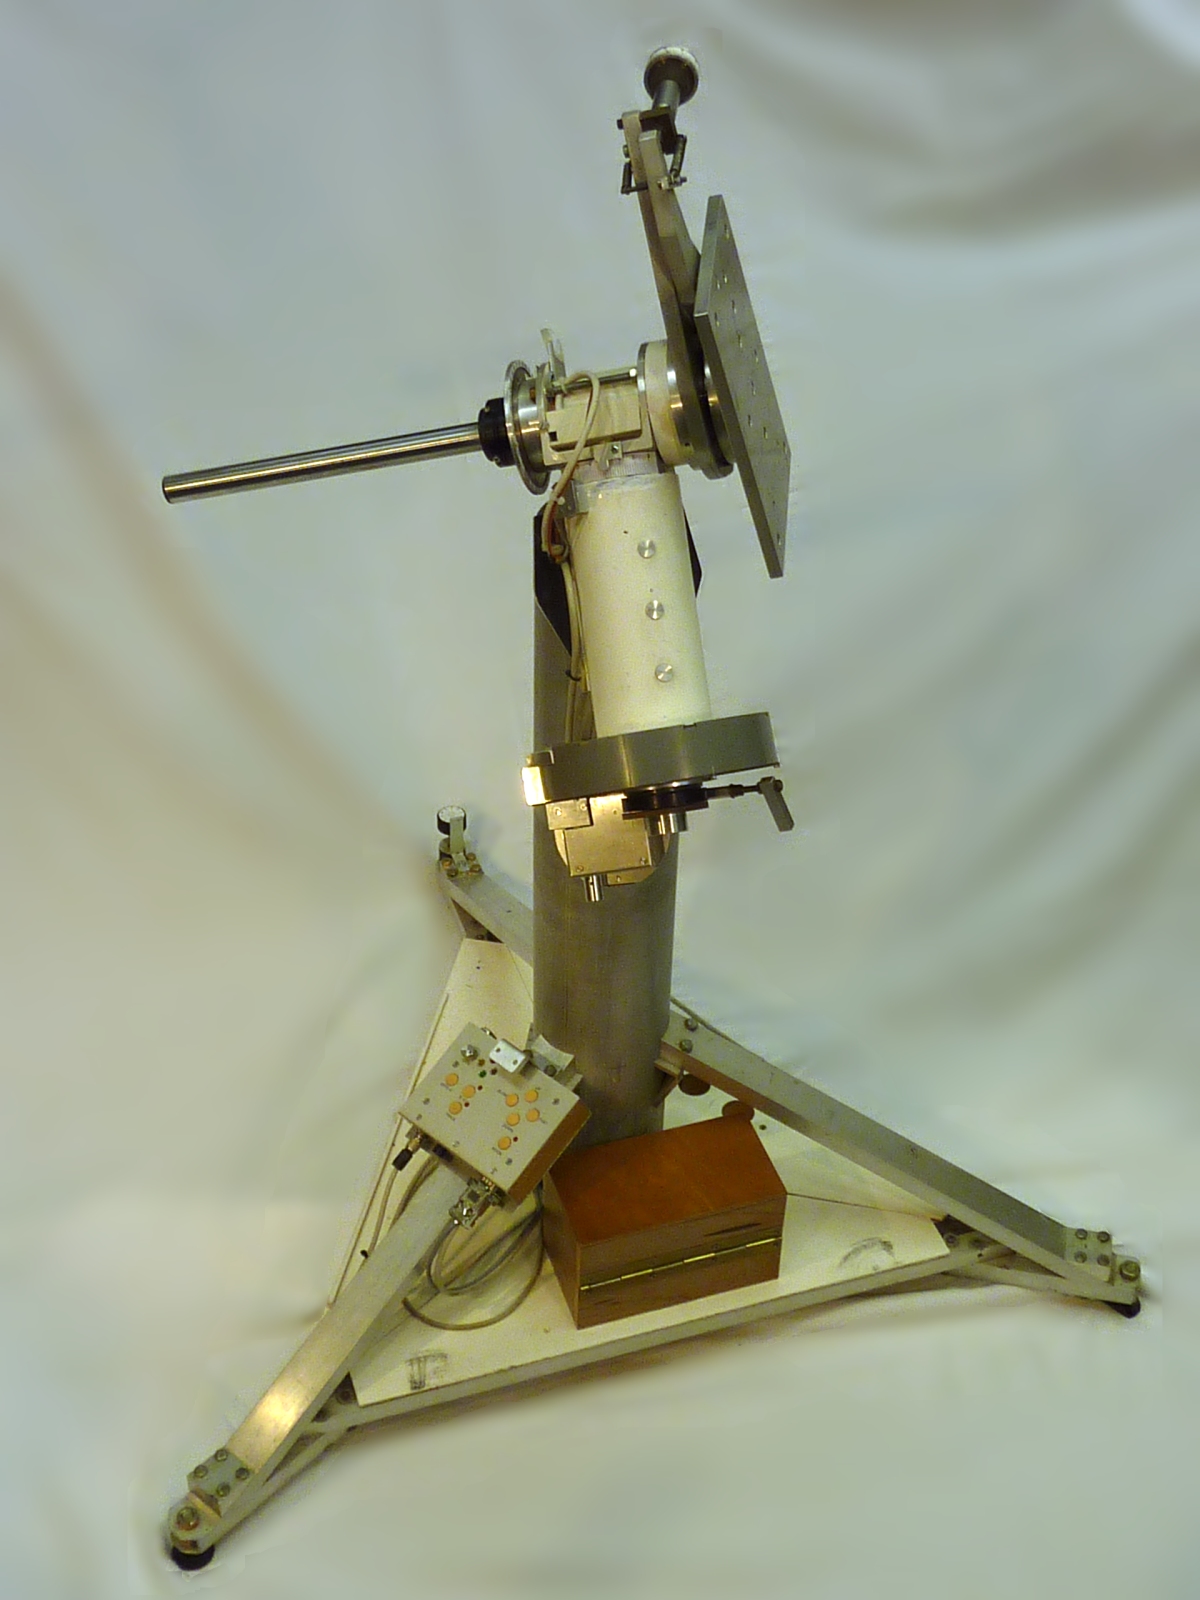
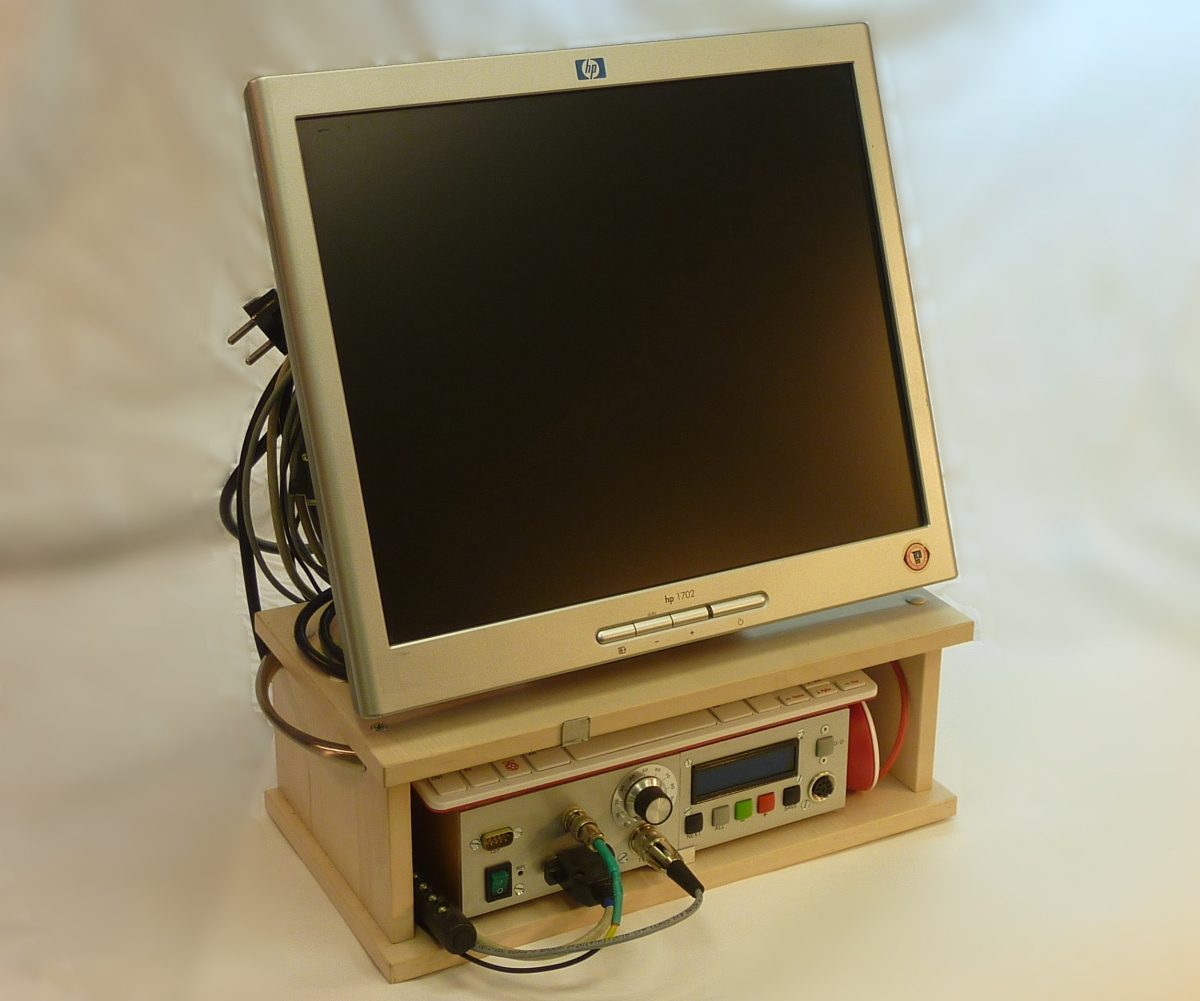
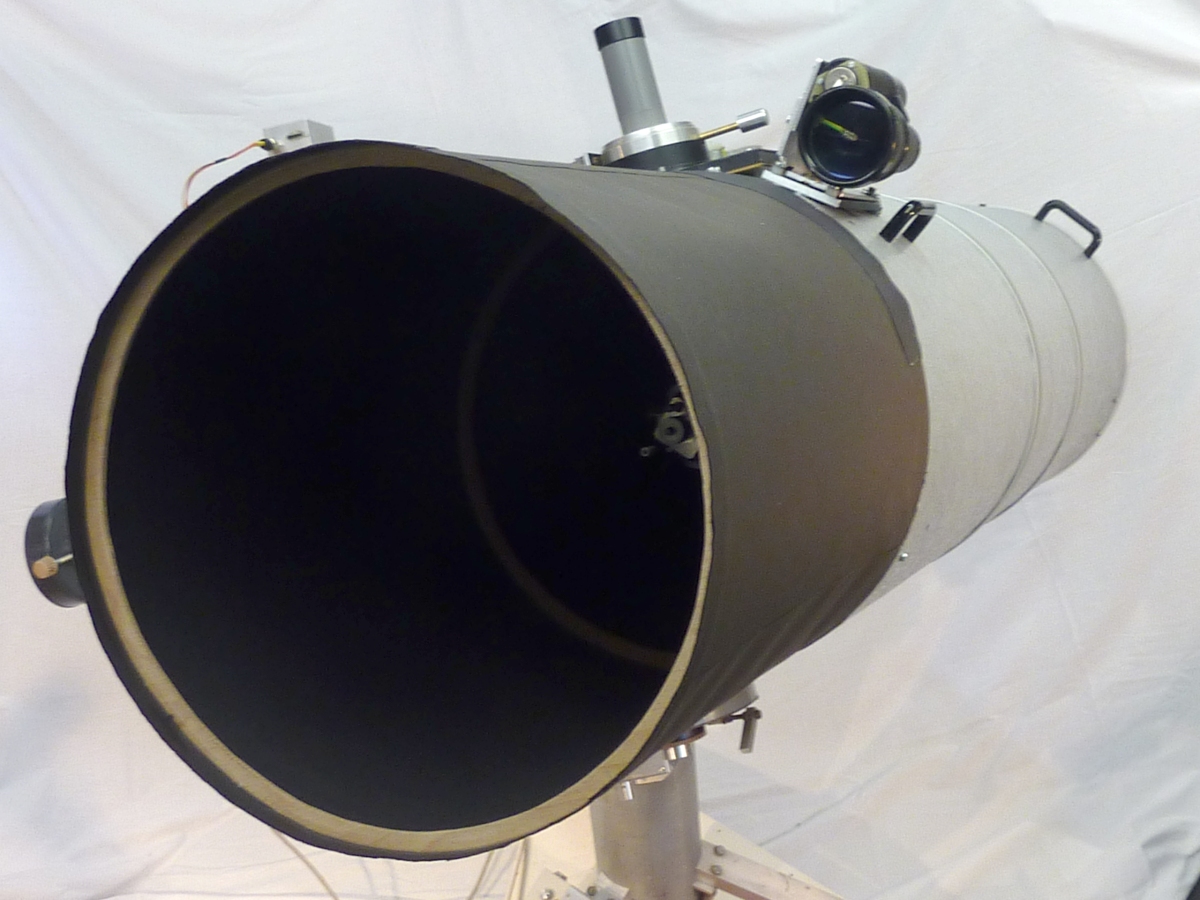
The images below give an impression of the components, completed setup and observation site (from left to right):
|
 |
 |
 |
 |
 |
 |
components |
loaded cart |
platform/table |
(w.o. light shield) |
observation location |
|